} -->

Thursday, September 9, 2010

Good news.....Wait!.....No Bad News....

The adapter plate and coupler came...finally after 1 and a half months.


Coupler on motor shaft - other side of it attaches to the transmission shaft allowing them to spin together


BUT......
The 4 holes on the adapter plate dont line up the the corresponding holes on the motor

I called Brian the owner of the company who fabricated the plate, and now i have to send it back and wait for a new one

It should be alot quicker this time around. Maybe a week or so

Tuesday, August 24, 2010

Tested the Motor and Controller...it WORKED!!!

Here is a video of me getting the motor to spin using the controller i built, the motor and the potbox


Saturday, July 31, 2010

Motor Came

The 107 lbs motor came the other day, and it looks great!

It's pretty small compared to a car engine, measuring 15.5 inches in length and 8 inches in diameter

It has 2 spinning shafts on each side. One i probably wont use for anything, the other, ill use the adapter plate and shaft coupler (which are the only things that haven't arrived yet) to securely attach the shaft of the motor to the shaft of the transmission.


Wednesday, July 28, 2010

What's left

Right now i'm waiting for the motor, adapter plate, and shaft coupler to arrive at my door, and i still have yet to purchase the batteries

EV Parts

Here's what  I've got so far

Battery Terminals


these clamp on the 15 batteries i will have and using the #2/0 ga wire, allow for a secure link between each battery

#2/0 Ga Wire


Weighs like 30 lbs total. It is 40 ft, and is used for all the high current wiring. The high current stuff is everything that needs the 120v of batteries to run such as the motor and controller. I'll use much thinner wire for the low current stuff like the gauges since they only use the 12v car battery.

120v Quick Charger


This charges the 120v battery pack from an outlet the red and black cables attach to the + and - of the 120v battery pack and the plug in will go to regular outlet. It weighs like 50 lbs.

Throttle Box


This is essentially a lever the attaches to the accelerator cable, so when you push on the accelerate pedal the little arm moves back. The faster you want to go the more the arm moves right. The Throttle box wires up to the controller, and the controller tells the motor how fast to spin based on the resistance from the throttle box.

Contactor


This safety feature is essentially an on/off switch, there is no way to turn the car on, or off without it going through this. It is wired to the ignition, batteries and controller, so that when i turn the key, everything turns on, but if something were to malfunction, the controller has the ability to shut everything off with the key still ion the ignition.

Voltmeter


This is essentially the fuel gauge when I'm fully charged it will say 120 volts as i drive, this ill go down to 0 when I'm out of power

Ammeter


This shows how many amps are running through the system. It is proportional to how fast im going since more amps are released for more power. It is simply there so i can make sure the batteries are letting the right amount out. For this to work, it must be wired to the shunt.

High Current Terminals


This connects all the components other than batteries to the #2/0 ga wire and 120v system. This includes the motor, controller, contactor and more.

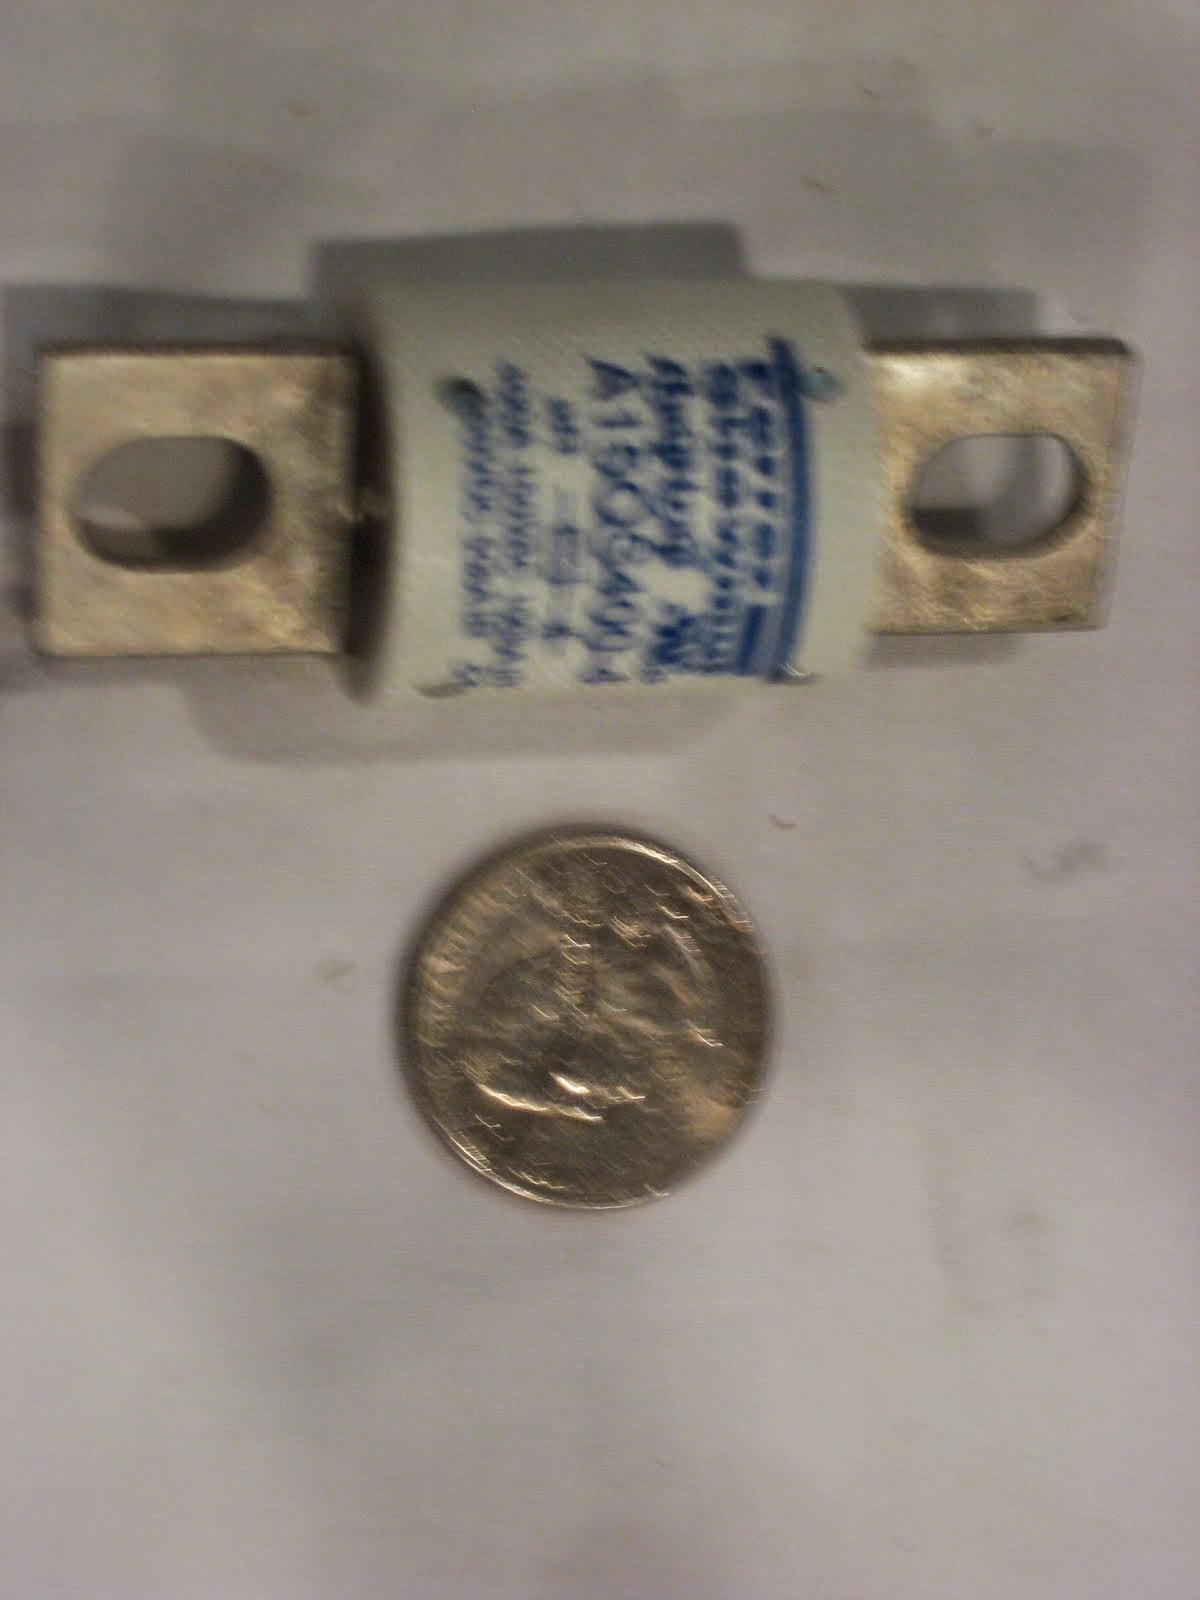
500A Fuse


This is another safety feature. It breaks and shuts off the car if too many amps pass through it

Shunt


This detects how many amps are coming through in the current and if wired to an ammeter, displays how many amps

12v Battery Charger


Since i no longer have an alternator to charge the car battery, i need to manually charge it. To do this i wire the black and red cables to the 12v battery and the plug in in to a regular outlet. Since i also have the 120v charger, ill probably plug them both into a surge protector and then plug the surge protector into the outlet.


Controller


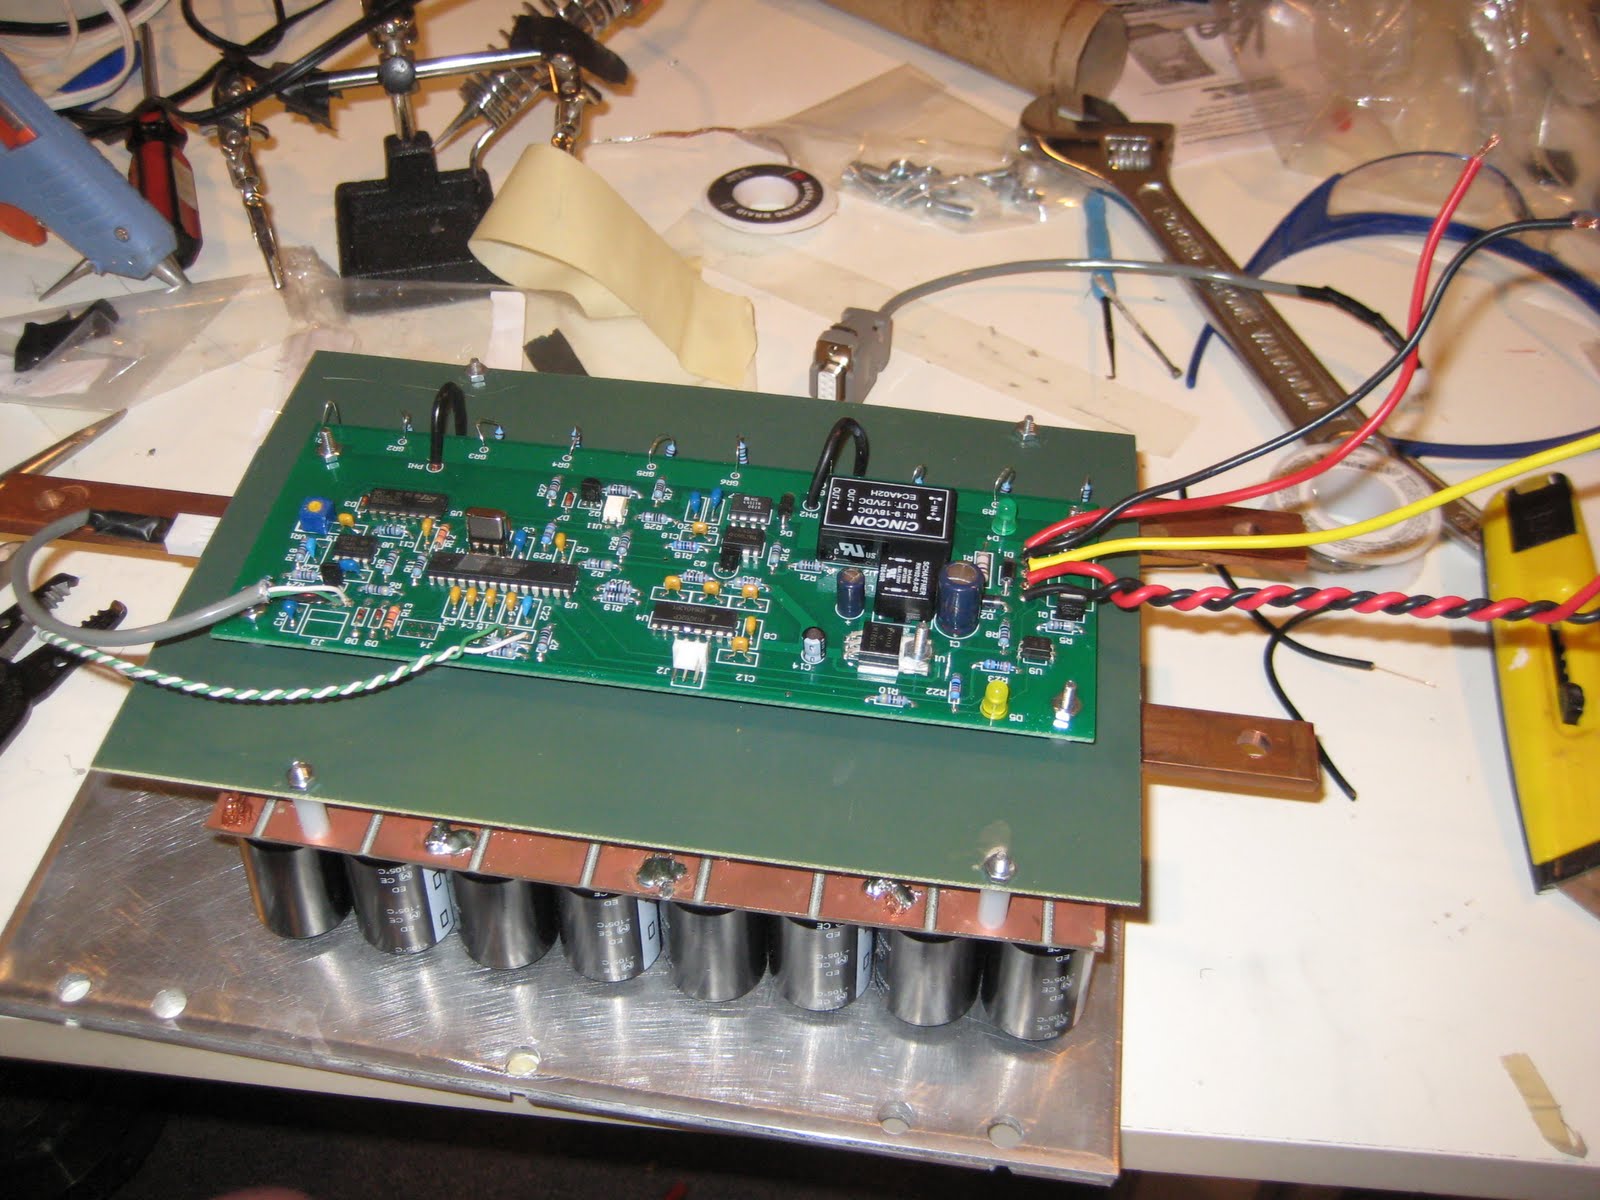
This is what i built, it is like the brain. It tells the motor how fast to spin and shuts it off if its too fast. There is plenty of info a few posts back on how i built this. It probably weighs around 20 lbs.

Finished Buffing

I've worked a couple hours daily the last week buffing and waxing the car. I've also touched up the paint in some areas that needed it.

This is the gear i used


Basically I started with Meguires 83 and the white more aggressive pad and applied it to the whole car twice. This re blended and shined the paint, but left swirl marks. To remove swirl marks i used the blue less aggressive pad and Meguires 9, which i also applied twice. After that i hosed off the car and cleaned the windows and trim.

There were a few deep scratches that i filled in with touch up paint and now you cant even see them.The only issue with the process is it stained my bumpers that i re blackened, so ill have to do that a gain. That will only take a few minutes

Here was the hood before


...and after


Monday, July 26, 2010

Got some parts

Almost all of the parts came last week. All that's left from that order are the custom made adapter plates and coupler. Ill get pics of them all once the last things arrive.

Also, i ordered the motor. instead of picking it up in Seattle, it's going to be shipped to my house, hopefully by Friday.

Once the motor arrives i mount it, wire it along with all of the other parts, the TEST! Once everything seems to be working, i will have made up my mind on what batteries i want.

As for buffing the paint, I'm about 80% done with that. Ill add some pics when it's done

Monday, July 12, 2010

Installed Speakers

I put in my new speakers and the sound great

Saturday, July 10, 2010

Ordered most my parts!!

Here's what i bought:
* Adapter Plate for vehicle
* Shaft Coupler - Motor to transmission(clutch-less)
* 0-5k (pb5)Throttle Box
* 40 ft of #2/0 ga. Wire Cable
* Contactor- Kilovac EV200 (2000 amp rupture 200 amp continuous)
* 50-150 VDC Volt Meter
* 0-500 Amp Meter
* 50mv - 500 Amp Shunt
* Gauge Holder Bracket
* 12 - High Current Ring Terminals
* 40 - Battery Cable Terminals
* Fuse - 400 amp slow blow
* Quickcharger 120 VDC (Smart Charger) 

* 12 vdc Smart Battery Charger (for accessory battery) 


It should all arrive in about a week

All i have left to buy is the motor and the batteries

I plan to set up all this stuff with the controller, then mount and connect the motor. At this point i can test everything and get the wheels moving slowly off one battery. After all of that is working ill purchase and install the batteries and bed DONE!!

Finished Controller


I finished the controller in about 3 hours and based off one of the tests i ran, it works!

Here is a slideshow of the progress from the start

Monday, July 5, 2010

Reupholstered Seats

My neighbor reupholstered my seats with the slightly different colored fabric i hunted down. I was lucky to get the fabric in such good shape since it hasn't been made in twenty years.

I wont be putting these back in the car till its done, but its nice to have them ready to go

New Seats


As you can see the lower fabric is deeper blue instead of grey, but thats fine for my standards

Here is what the used to look like

Fixed Electrical Stuff

Ive been sick the last few days, but last Wednesday i bought a regular 12v car battery to try to fix all of the electrical problems

I got all the existing parts on the car working and ready to go. This includes...

-headlights
-high beams
-turn signals
-tail lights
-brake lights
-front and back windshield wipers
-front and back defrost
-windshield squirter
-radio
-speakers
-interior lights
-dash lights
-ac control lights

I think thats everything

The radio works great. I ended up opening it up and wiring in a little cord so i can play my iPod through the car speakers.

The car speakers however were trashed, so i ordered some new ones off amazon.

Here are some night time pictures of all the lights working


Dash


Radio


Low Beams


High Beams


Controller News

Im still awaiting my shipment of a few parts, and am also trying to track down a 190 watt+ soldering iron i can borrow or rent for the last, bigger pieces.

Here is what my workplace looks like...

Monday, June 28, 2010

Car Status

Today was a huge success in testing the existing wiring in the car

I first reinstalled the dash which was a puzzle of wires, then we connected jumper cables to my dad's car battery and with great anxiety, turned the ignition.

To my surprise, the dash lit up, the lights went on and the "No Seatbelt" noise was ringing. I tested the wipers, defrost, lights and coolant squirter and they all worked. The only thing i noticed was i had a few burnt out bulbs and broken fuses.


All i have left to do is replace the bulbs and fuses, install a radio and wire in the inner, smaller headlights

This is all great news since i was very pessimistic about this stuff working since the car is so old

Controller Status

My kit was missing a few parts so Paul will ship them to me.

I also need to find a way to get a 200 watt soldering iron for the bigger pieces of the controller. the 30 watt on i have is too weak for the job

I would say i have about 4 hours of work left on it

Monday, June 21, 2010

Started Building the Controller

Today I spent about 5 hours soldering all of the components onto the control board for my Controller.

I took about 100 resisters, capacitors, diodes ect. and infused them all onto the same circut board. I learned alot on how to solder and keep a steady hand. I had no major screw ups, however i did take some backward steps.

Overall I'm pleased with how it went, and now I have the larger stuff to deal with which is more drilling and screwing thank soldering.

Click here for pictures

**The photo album above will automatically update whenever i take more pictures

From Controller

Wednesday, May 19, 2010

Back in Buisness

The tests went well and I'm glad to be done with them. School is winding down, especially since my three hardest Ap classes require no work anymore.

The motor im buying from a guy in Seattle looks like this:


Im probably going to get that sometime in the beginning of summer when its convenient. It weighs about 100 lbs. Much lighter than a 600 lbs gas engine

One of these days i will call a EV company in Utah and order the adapter plates that allow a secure connection between my motor and transmission. These take six weeks to make since they are custom for my car.

Im buying from the Utah company because they are the cheapest ones i could find ($500). Some companies charge over $1000 for heavy duty ones.

Here is an example. The 4 large holes on the border are what drill into the transmission, and the shaft in the center fastens onto the transmission shaft.

Monday, April 26, 2010

Taking a Break

I have lots of stuff going on until school is out.
  • Chemistry Subject Test
  • SAT
  • AP US History Test
  • AP Language Test
  • AP Chemistry Test
  • Hutton Carnival Volunteer
  • Lilac Band Parade plus tons of practices
  • Golf
As you can see my schedule is jam packed. I don't have a free weekend till the week school ends.

This will slow my progress on the car, and i wont have much to update.

Sunday, April 18, 2010

Sold the Starter

I sold the starter for $20

Thursday, April 8, 2010

Plan

I have four things to do before i purchase the rest of my EV stuff.
  1. Build the controller: I'm in no hurry for this since i want to do it right, so its not a top priority. I would guess ill have it done before school is out.
  2. Figure out the batteries i want to use. 15 8v golf cart batteries will get me my desired 120 volts. My other options are 20 6v or 10 12v. The thing with batteries is the more you have is more range before recharging, but also more weight. 20 6v would equate to 1200 lbs since they are 60 lbs each, and i would get maybe 5 extra miles of range. 10 12v would be close to 750 lbs, but i would suffer about 10 miles less of range. 8v howevr are the middle ground, weighing about 63 lbs each, so about 950 lbs, and i would get decent range.My delima is choosing which brand of 8vs to use. Sams Club offers a great deal on decent quality btteries for about $70 each, the problem is the nearest one is in Seattle. So ill need to research that a bit more. The batteries i will buy last, since they lloose life sitting in my garage.
  3. I need to test the existing electrical stuff and fix whats broken. This includes the headlights, dishboard, turn signles, wipers ect. I need to buy a reguilar car battery for this. Im hoping to finish this by May.
  4. Purchase, mount, and test motor. I already have arranged a great deal on a new moter from a guy i visited in Seattle. I will need to pick that up, since it is $200 to ship, and order the custom adapter plate which will connect is to the transmission. Once i've done that, i need to figure out a good way to mount it all under the hood and connect it to my controller. It shouldnt be too hard since it is much smaller than the gas engine. Once it is all mounted, i can text the motor with a 12v battery, and actually get the car moving (super slow).
After all of this is done, I can proceed on and purchse all of the liitle components to wire it all together. That will be the final stretch of the project.

I plan to finish sometime in the middle of summer, and then it will just be some tidying up and optimizing to get it perfect.

Nevertheless, the final product is very far out of reach right now.

Saturday, April 3, 2010

Today's Accomplishments

Today, I woke up excited to put on the newly assembled Quad Grill on the car. Here is what it looked like

Everything fit in great!!

Next i re-finished everything plastic and back on the exterior using Kiwi Leather Dye.

In about 4 hours i cleaned, removed the oxidation, and applied the Kiwi on the rear bumper, my two front bumpers, the mirriors, wheel arches, trim, grill and handles.

I applied 2 coats to get rid of some of the streaks.

Here are the results. It turned out great. Everything black looks new. The next step is to buff up the paint


Re-blackening Project

My bumpers, trim and wheel arches are nearly ash grey, and should be black.


After a bit of research, i found out the best fix resides in black leather shoe dye, specifically Kiwi


You basically apply it like paint, but it soaks into the old plastic, instead of creating an additional layer like paint would. The paint would not stick well since the bumper has been oxidized after years of being in the sun.

Ill post pictures when i finish my little science experiment

Headlight Assembly

Over hours of scratching my head, i finally got the headlight assembly set up.

Caylee cleaned it all too
  1. I chose which VW badge i liked better. I went with the chrome
  2. I screwed the 7" Lights into the core support. The screws swivel, so it was kinda funky figuring out how the go in.
  3. I took the grille and screwed in the 5" inner fog lights. I used the same method as when installing the 7" ones
  4. I mounted the grille on the core support
  5. The next step is to install them in the car and wire it all to a switch


Controller Kit Details

This kit has over 200 pieces and there is a ton of room for error. Im going to try to get help from an electric engineer.

Basically all im doing is soldering tons of components to a circuit board, then bolting together the housing. Seems easy, but its not

Here are some pics of it still packaged...