
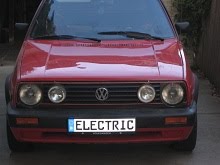


Saturday, July 9, 2011
Good News on Controller
Heard back from Paul in Seattle. He was able to fix my controller, and I will be able to pick it up Wednesday before my UW orientation. Turns out i blew the 4th mosfet, which in turn blows the 3 in the chain before it. Its only a couple bucks to replace, and everything should be up and running soon!
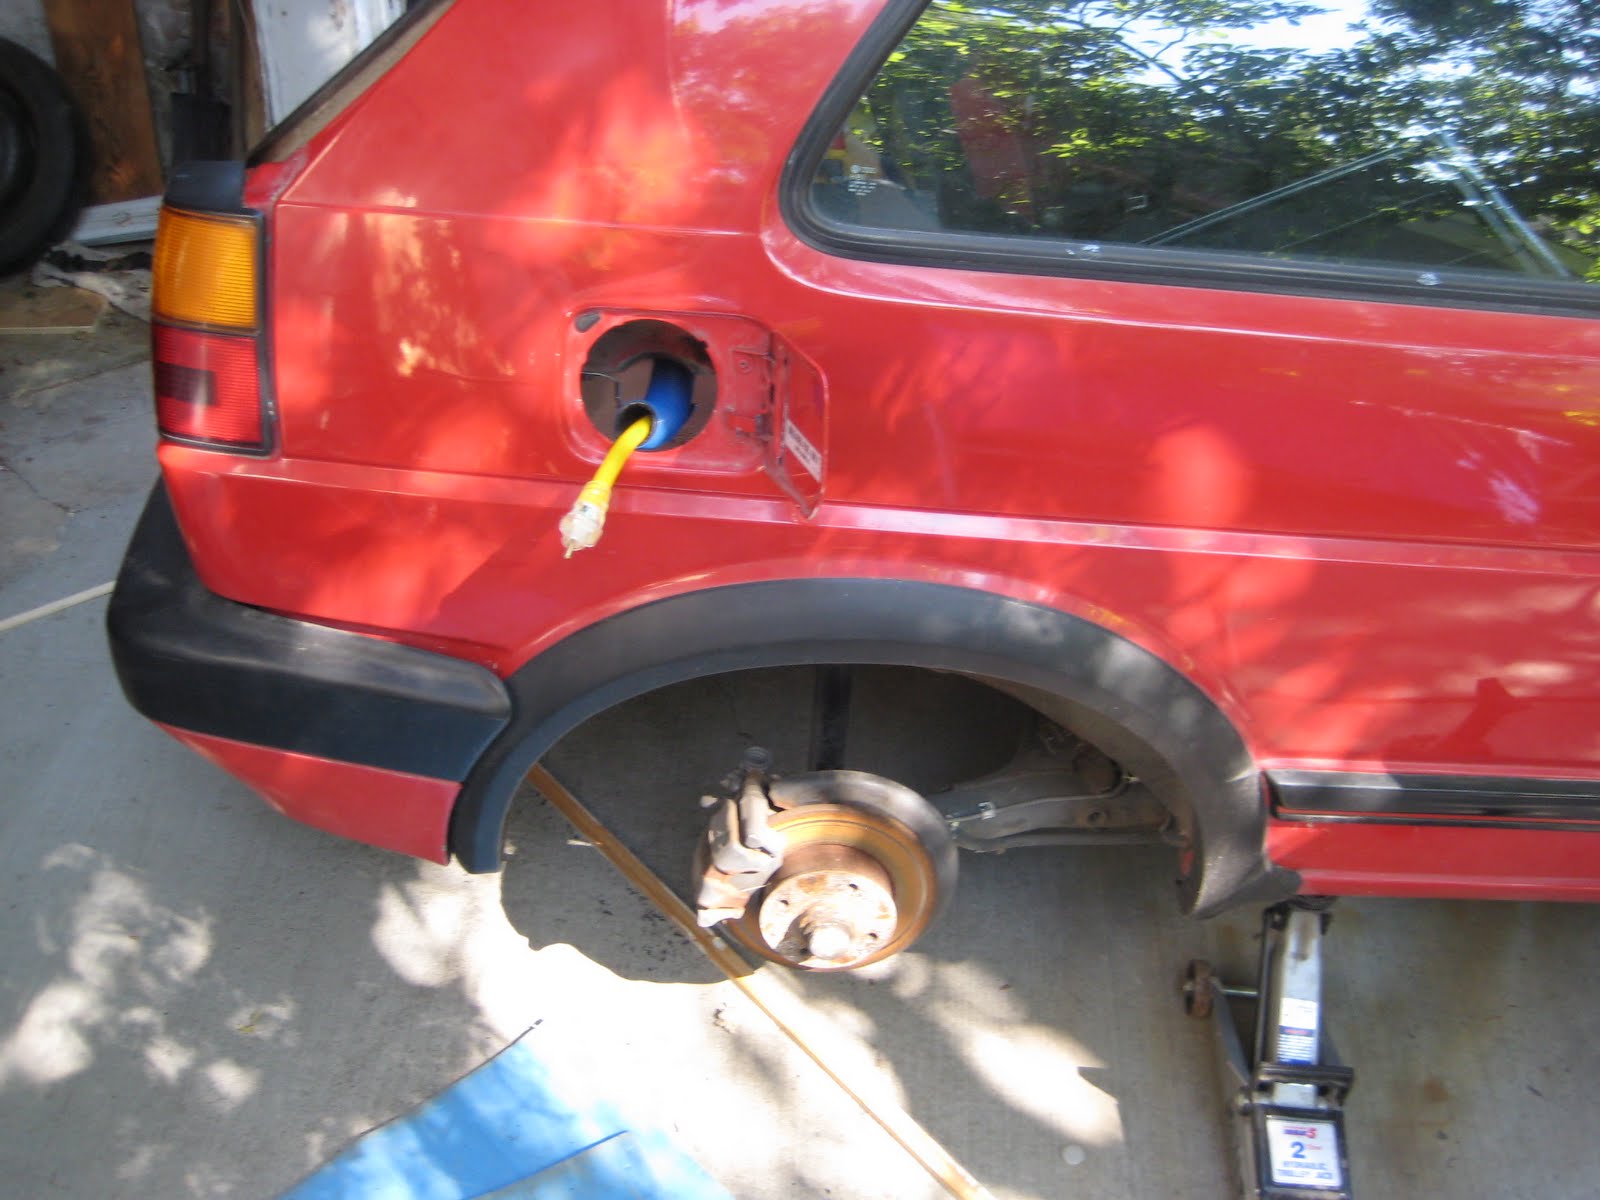
Wednesday, July 6, 2011
Started the Charging Outlet
To charge the car i will open the gas door and plug in an extension cord. The outlet will be wired to both the 12v and 120v chargers, as well as a safety ignition lock system that wont let me drive away when the car is plugged in.
Using hot tub hosing, some pvc and some plexi glass we began fabricating a a mount for the outlet.
Here is what we have so far


Using hot tub hosing, some pvc and some plexi glass we began fabricating a a mount for the outlet.
Here is what we have so far


Finished Control Box
With everything wired up and in place, I was able to finish, and tidy up the control box, which houses all of fuses and small ev components. The only thing that will be added is the wires vacuum brake for the vacuum brake.
Here it is!


Here it is!


Installed Heater
We got the heater back in and wired it to a switch so that it can only be turned on when the fans are going. I tested it and it is much more efficient than a regular car heater. It gets hot in a few seconds! I also made sure it didn't melt anything when it was on.
Monday, July 4, 2011
Mounted Gauges and Installed Precharge switch
I mounted the gauges and wired them to blue leds so they are lid at night with the rest of the dash. They look pretty nice on the dash.
I also added a precharge switch right between the defog and hazards, which i push and hold for 5 or so seconds to "warm up" the car before i actually start it. This adds longevity to the components, especially the controller
Finally i installed the switch for the heater below the hazards, but haven't wire it yet. I'm thinking about getting a different one the lights up when the heater is on.

Family is in Town! First Test!
Grandma, Grandpa, Greg and Deb came in town for my graduation, but they also were there to witness the first test.
Before i was ready to test, i had a list of little things that needed to be done. Between me, my dad and Greg, we were able to get everything done well.
This includes...a mount to secure the throttle cable, all of the high voltage wiring (crimped and ready to go), and much more.
When we were finally ready, we hooked everything up to a 12v Battery and turned the car on and tested the motor in all of the gears. The test was a SUCCESS.....until the controller melted down...
Here is a video of the excitement.
First Test from Jake Garrison on Vimeo.
What ended up happening is something that wasn't secured well on the controller overheated, causing the controller to malfunction. I ended up sending the controller back to Paul (the designer) and he is working on it as we speak, and i will pick it up in Seattle when i go to my UW orientation. Even though it is a set back, i have been able to get many other things on the car down while i wait.
Anyways...it was great to show everyone that the wheels CAN spin, and i think they all enjoyed watching and helping me out.
Made Lid for Back Box
My dad made a nice stained wood lid with plexi-glass through it so i can see the lights associated with the chargers. It looks great. All that's left in the back is to run a few wires through the car (for the chargers) and drill a hole through the rear passenger side fender to run a cable to the gas cap door, where the charging plugin will be located


Sorry....Haven't Been Blogging
I've been having a great summer and keep forgetting to update the blog. There has been alot of work done, and it's almost drive-able now!
Subscribe to:
Posts (Atom)