} -->

Wednesday, December 8, 2010

Mounting the Motor Brainstorm

Though there hasn't been much progress (due to the cold, snowy weather and school), I have been thinking  a lot about how everything will come together.

Currently whats next on the list is getting the motor/tranny mounted and secured in the car. The tranny side of the component already has built in mounting points on the car since i was originally in the car. The motor side however, needs some sort of fabricated piece to keep it secure to the car.

What I'm thinking is i'll make some sort of cradle for the far left side of the motor that extends to the back left corner of the hood. In the back left corner, there is a mounting point originally used by the engine.

In Addition, I had an extra hole drilled in the adapter plate with the hope that i could use it as a third mounting point. This would be some sort of steel bar from the front of the plate to the front support bar of the car.

Here is a diagram of my thoughts

Sunday, November 21, 2010

Tested Motor, Adapter Plate, Coupler and Transmission

After a few hours of heavy lifting and precision measurments, my Dad and I ended up fitting the motor on the transmission useing the new adapter plate and coupler.

I then wired everything to the controller and batteries to test it. I only tested on 12v instead of 120v because i dont have my batteries yet.
The test was successful in that the transmission spun the way it should. It vibrated a bit which means it isn't lined up perfect yet, but i wont worry about that until it's all in the car.
The next step is to figure out how to put the 200 lb tranny/motor back into the car and mount it.


HD Movie:


Motor-Transmission Test from Jake Garrison on Vimeo.


Pictures:
Motor with new Adapter Plate


Trying to fit them together


Close-up of the connection


Pulley System to join the two


Joined together by lowering the transmission on the motor


Tightened and ready to test


Wiring for the test

Battery Sponsorship!!

A few months back I filled out a form and wrote a persuasive essay to Optima Battery Company about why they should sponsor me. Well, it worked because a couple of days ago i got an email saying they will sponsor me and give me a $120 discount on each of the 10 batteries i need. That's $1200 off my battery purchase.

Not only do i save a ton, but they are also selling me the nicest batteries they have. The Optima D34 Yellow Tops, priced at $220 each.

What is nice about these batteries is they are a new AGM technology which means they aren't as affected by cold temperatures, they don't release harmful gas when charging (which means i wont have to install a ventilation system). Finally, they can be knocked around a bit since they have gel in them instead of liquid, and they don't need any maintenance like regular batteries.

In return to the huge discount, i must right a testimonial about why i choose Optima, send them 4 pictures per month, and put some Optima stickers on my car.

Schematics Update

I drew out some schematics for some of the EV professional;s to check out. 5 drafts later, i got a final layout that seems to be correct and ideal for my car. I used a helpful program called TinyCAD to make them look organized and professional

Finally! A Working Adapter Plate

After getting fed up with trying to get the guy in Utah to make me a working adapter plate, I went to the local machine shop and had Tom custom build one from reminiscence of the poorly made Utah one.

It was great actually meeting with someone instead of only talking on the phone. I had a great experience, didn't pay too much, and most importantly i got a result that will work

To get it made i ended up bring the motor, transmission and coupler so he had all the materials to test fit it with.

Here is the final product


Sorry for No Updates

Since school started I've been super busy with homework and college applications. Now that i'm done with my college apps and school is slowing down a bit, i have time to start working on the car.

I also have been waiting for my adapter plate, which is now done.


Sunday, September 26, 2010

Another Heater Update

I finished mounting the ceramic heater into the original heater core and i slid it back into the housing without a problem.

All that is left is to wire it to the switch and test it with the car fan


Above is the Ceramic heater inside the heater housing. It fits perfectly

EV Gauges

I got a mounting housing for my two EV Gauges. This allows me to mount them above the dash and looks nice.

I also hooked these gauges up to the same color lights as my dash for when it's dark


Front License Plate

I got my new license plate straight from Germany a few days ago. In most states including WA, you only need a real back license plate. The front can be whatever.

Here's what i got. It's European style (like my car) and the D stands for Deutschland which is Germany home of Volkswagens


Sunday, September 12, 2010

Heater Update

Yesterday morning my dad and i cut out the hole in the heater core for the ceramic heater insert. It was kinda tricky, but we got a nice clean cut eventnally with the help of a jigsaw


Next ill have to use temperature proof glue to seal it in and block off all the heater core with steel sheet metal so the airflow only goes through the ceramic element.

Thursday, September 9, 2010

Plan

Sorry its been like a month since i last updated!

August was crazy for me! I went on a backpacking trip, did my school summer project, and started school

I barely found time to work on the car, plus i was waiting for the adapter plate and coupler (which i sent back...)

Today (below this post) i wrote all the major things i did in the last month. I've also been working on getting a deal on batteries. Im currently in contact with a few dealers.


My plans to finish the car! (added to checklist on sidebar)
  • Get a deal on batteries
  • Fabricate battery racks
  • Make a control box (containing the smaller components like fuses and contactor)
  • Get new adapter plate
  • fit adapter plate
  • Mount motor with tranny
  • wire the heater
  • Wire everything else
  • Mount everything else but batteries (controller, control box 12v charger)
  • Get vacuum brake
  • Mount gauges
  • Set up emergency disconnect (circuit breaker)
  • Mount battery pack charger in trunk
  • Mount batteries
  • test!

New Part Came

I  was worried about the car going put of control and me not being able to easily turn it off so i got this heavy duty switch (circuit breaker) that will shot it all off instantly


My plan is to mount it under the hood and use a cable/pull switch device like this

Dorman HELP! 55101  Choke Conversion Kit
Ill have the knob mounted by the steering wheel within grasp and the cable will attach to the switch

It's Gonna be a Cold Winter...I Have a Solution!

Some crazy old man told me this winter will be especially cold. Later, I thought my car has no heater or defrost... The original heater required water to run which was made by the engine.

The solution - A $20 ceramic heater from walmart
Sunbeam Ceramic Heater

I ended up getting "mis charged" and only payed $5 for it!

First thing i did was open it up and find the ceramic heater core which will be powered by my 120v pack

Here it is:


As you can see there is a jumble of wires sticking out and sending power through different combinations determines how hot the heater gets.

After various trial and error testing and a meat probe thermometer and a few burns on my hand, i fount out the combo of wires that yield the hottest temp...200 degrees F!

Obviously the fans in the car will cool it down by the time it comes out the vents. I expect it to be equal or a bit cooler than the original water heater.

This heater also came equipped with a powerful fan which i can use to ventilate the gases out of my trunk. When the batteries charge, they leak out a tiny bit of H gas, which is explosive...remember the Hindenburg?

To mount the fan i will cut a hole big enough for the ceramic heater in the cars original heater core pictured here


Heater core


It will look something like this


I also will need a relay that will allow me to toggle the heater on and off. I just bought this and it has yet to arrive.

Here is the spot in the car where all of this fits into. It's right behind the center console under the dash

Removed Clutch

Since i will not be needing the clutch i figured i might a swell ditch the pedal.

5 minutes later i had the pedal in my hand wondering how it was so easy to remove... especially with my luck

 If your wondering how im going to shift gears, its simple.

Let go of the accelerate pedal, shift to the gear with the regular shift knob, and the push back down on the accelerate.

Pretty simple!

Dash Glow!

I hated the dim green glow that my dash had so with some blue led's and a bit of tinkering, i was able to mount these bright lights. They also match the lights that will light up my new gauges which will be mounted above the steering wheel.

Here it is!

Good news.....Wait!.....No Bad News....

The adapter plate and coupler came...finally after 1 and a half months.


Coupler on motor shaft - other side of it attaches to the transmission shaft allowing them to spin together


BUT......
The 4 holes on the adapter plate dont line up the the corresponding holes on the motor

I called Brian the owner of the company who fabricated the plate, and now i have to send it back and wait for a new one

It should be alot quicker this time around. Maybe a week or so

Tuesday, August 24, 2010

Tested the Motor and Controller...it WORKED!!!

Here is a video of me getting the motor to spin using the controller i built, the motor and the potbox


Saturday, July 31, 2010

Motor Came

The 107 lbs motor came the other day, and it looks great!

It's pretty small compared to a car engine, measuring 15.5 inches in length and 8 inches in diameter

It has 2 spinning shafts on each side. One i probably wont use for anything, the other, ill use the adapter plate and shaft coupler (which are the only things that haven't arrived yet) to securely attach the shaft of the motor to the shaft of the transmission.


Wednesday, July 28, 2010

What's left

Right now i'm waiting for the motor, adapter plate, and shaft coupler to arrive at my door, and i still have yet to purchase the batteries

EV Parts

Here's what  I've got so far

Battery Terminals


these clamp on the 15 batteries i will have and using the #2/0 ga wire, allow for a secure link between each battery

#2/0 Ga Wire


Weighs like 30 lbs total. It is 40 ft, and is used for all the high current wiring. The high current stuff is everything that needs the 120v of batteries to run such as the motor and controller. I'll use much thinner wire for the low current stuff like the gauges since they only use the 12v car battery.
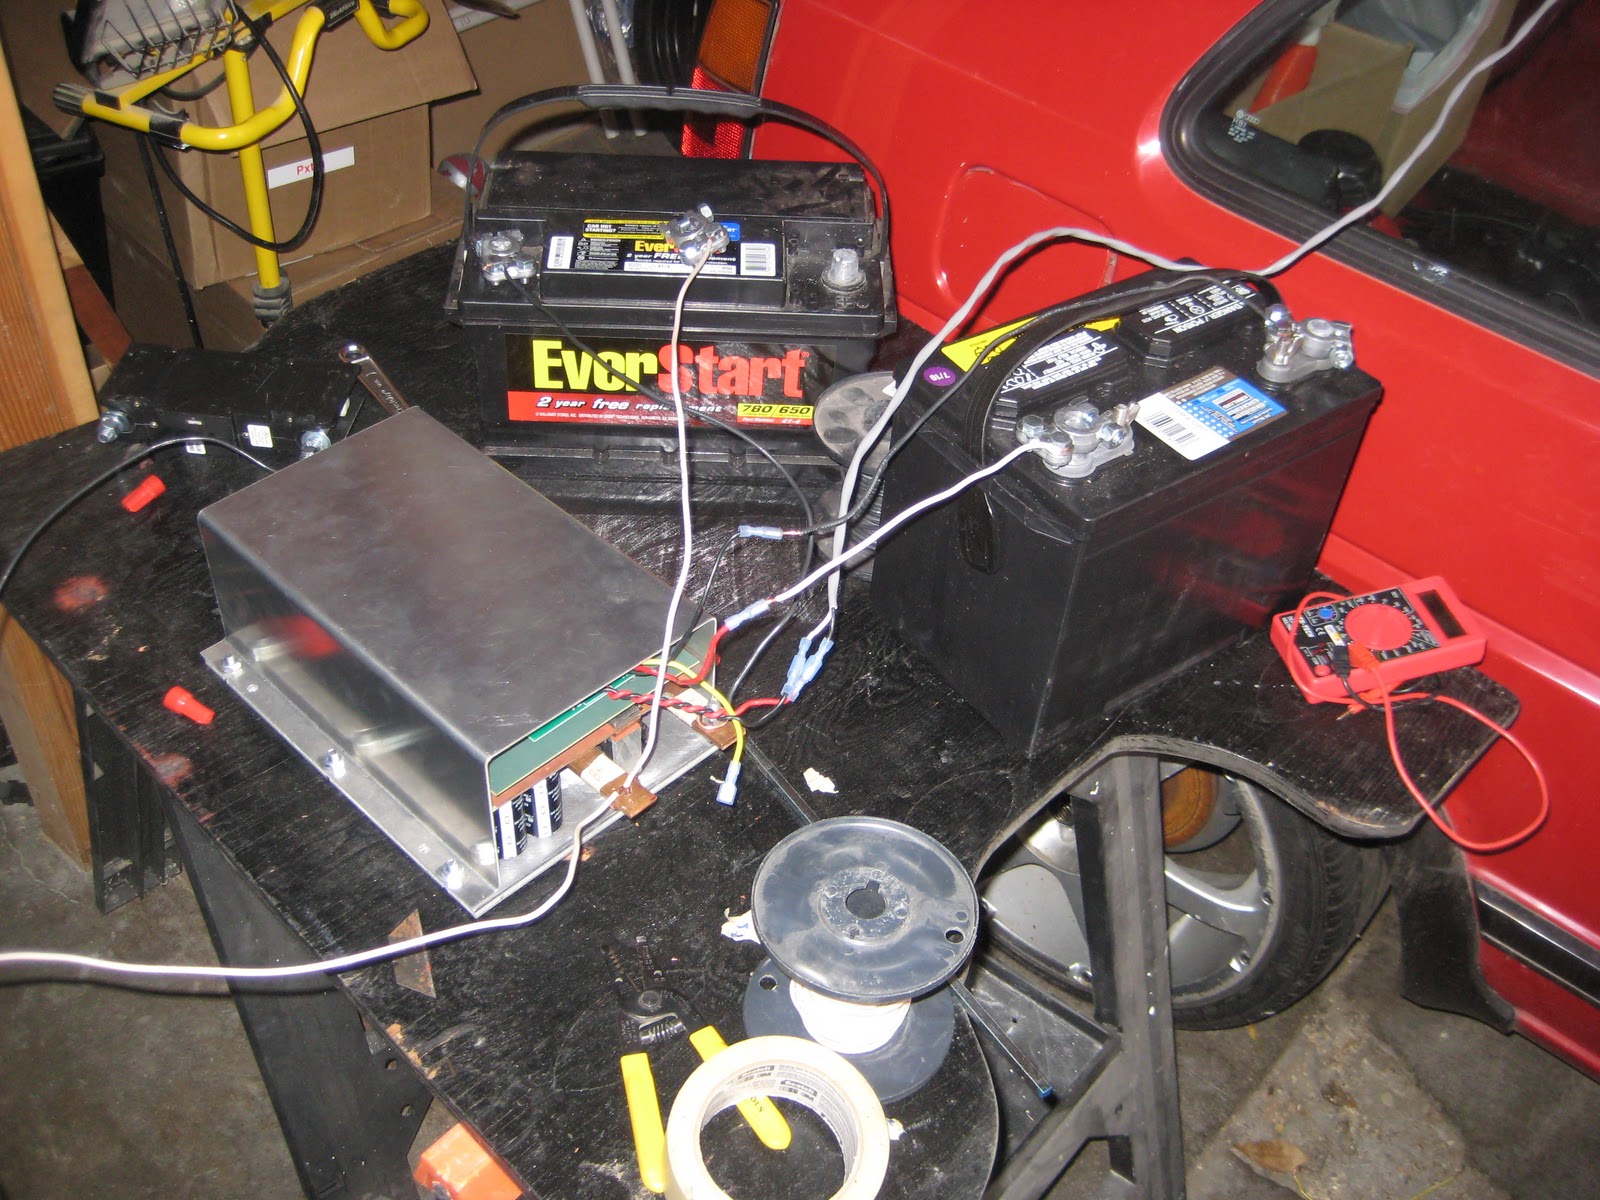
120v Quick Charger


This charges the 120v battery pack from an outlet the red and black cables attach to the + and - of the 120v battery pack and the plug in will go to regular outlet. It weighs like 50 lbs.

Throttle Box


This is essentially a lever the attaches to the accelerator cable, so when you push on the accelerate pedal the little arm moves back. The faster you want to go the more the arm moves right. The Throttle box wires up to the controller, and the controller tells the motor how fast to spin based on the resistance from the throttle box.

Contactor


This safety feature is essentially an on/off switch, there is no way to turn the car on, or off without it going through this. It is wired to the ignition, batteries and controller, so that when i turn the key, everything turns on, but if something were to malfunction, the controller has the ability to shut everything off with the key still ion the ignition.
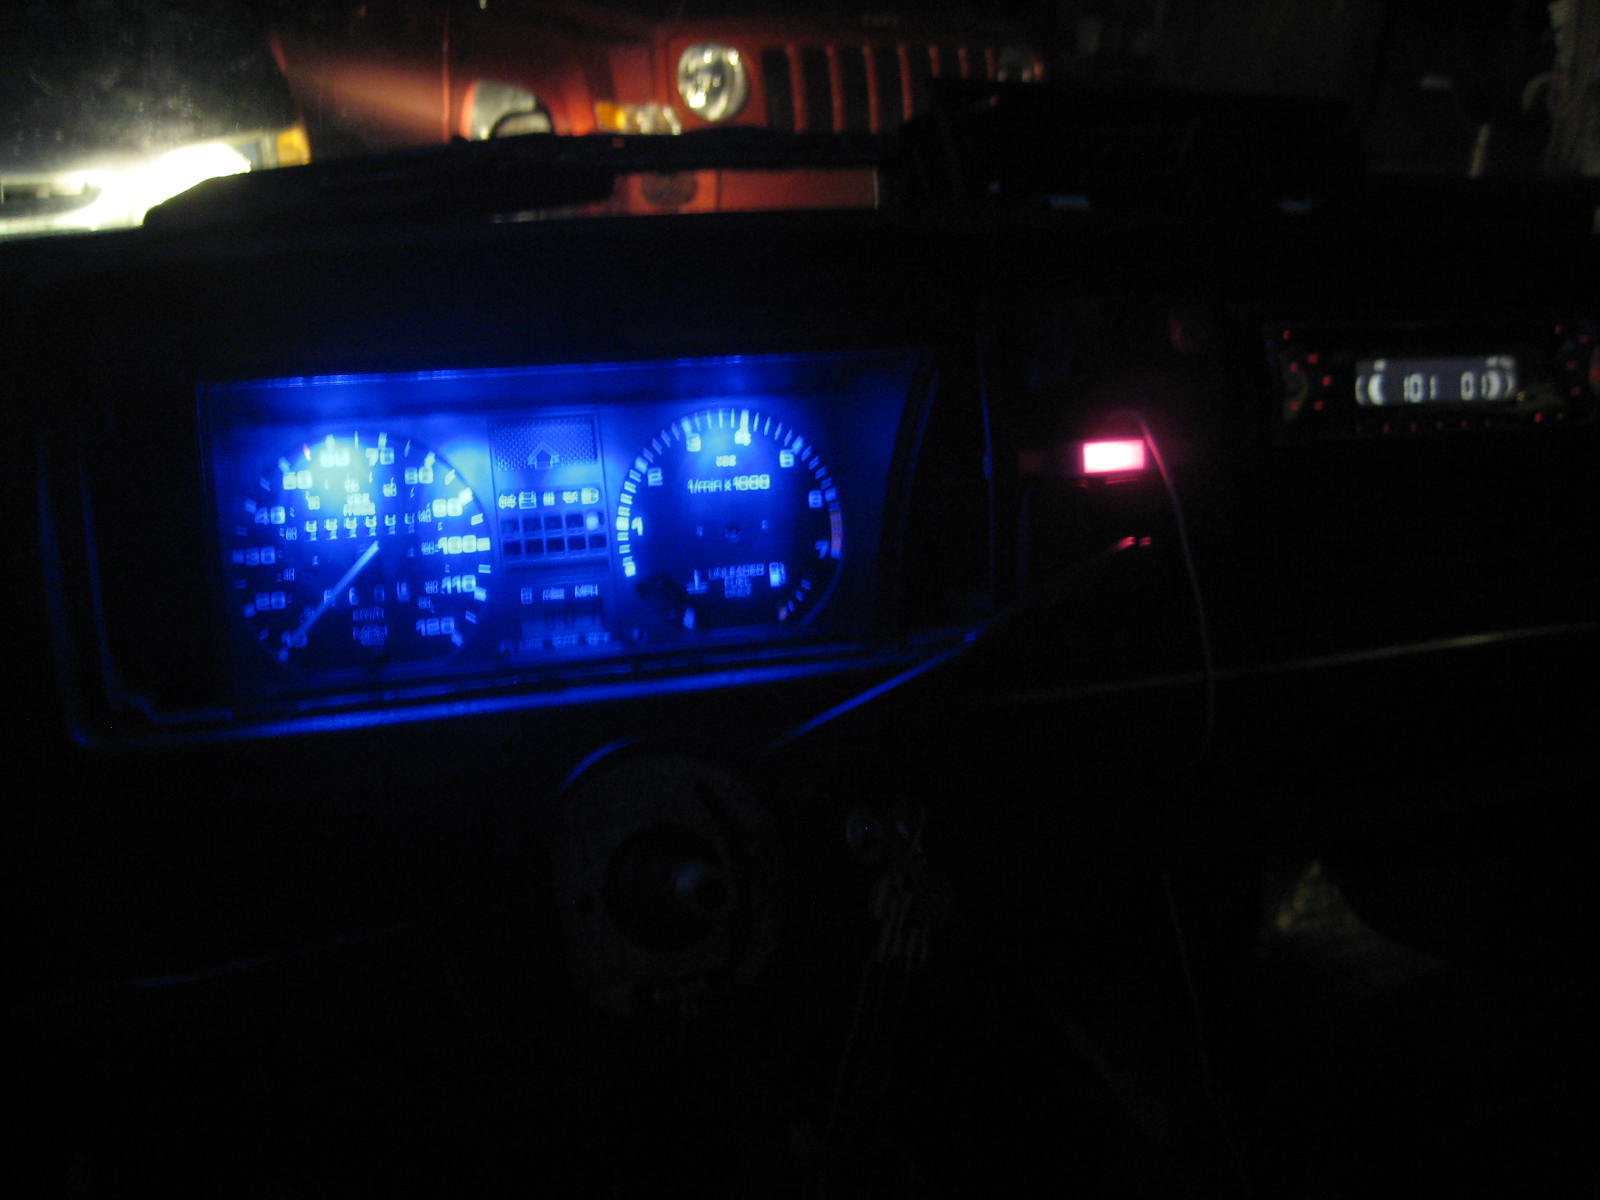
Voltmeter


This is essentially the fuel gauge when I'm fully charged it will say 120 volts as i drive, this ill go down to 0 when I'm out of power

Ammeter


This shows how many amps are running through the system. It is proportional to how fast im going since more amps are released for more power. It is simply there so i can make sure the batteries are letting the right amount out. For this to work, it must be wired to the shunt.

High Current Terminals


This connects all the components other than batteries to the #2/0 ga wire and 120v system. This includes the motor, controller, contactor and more.
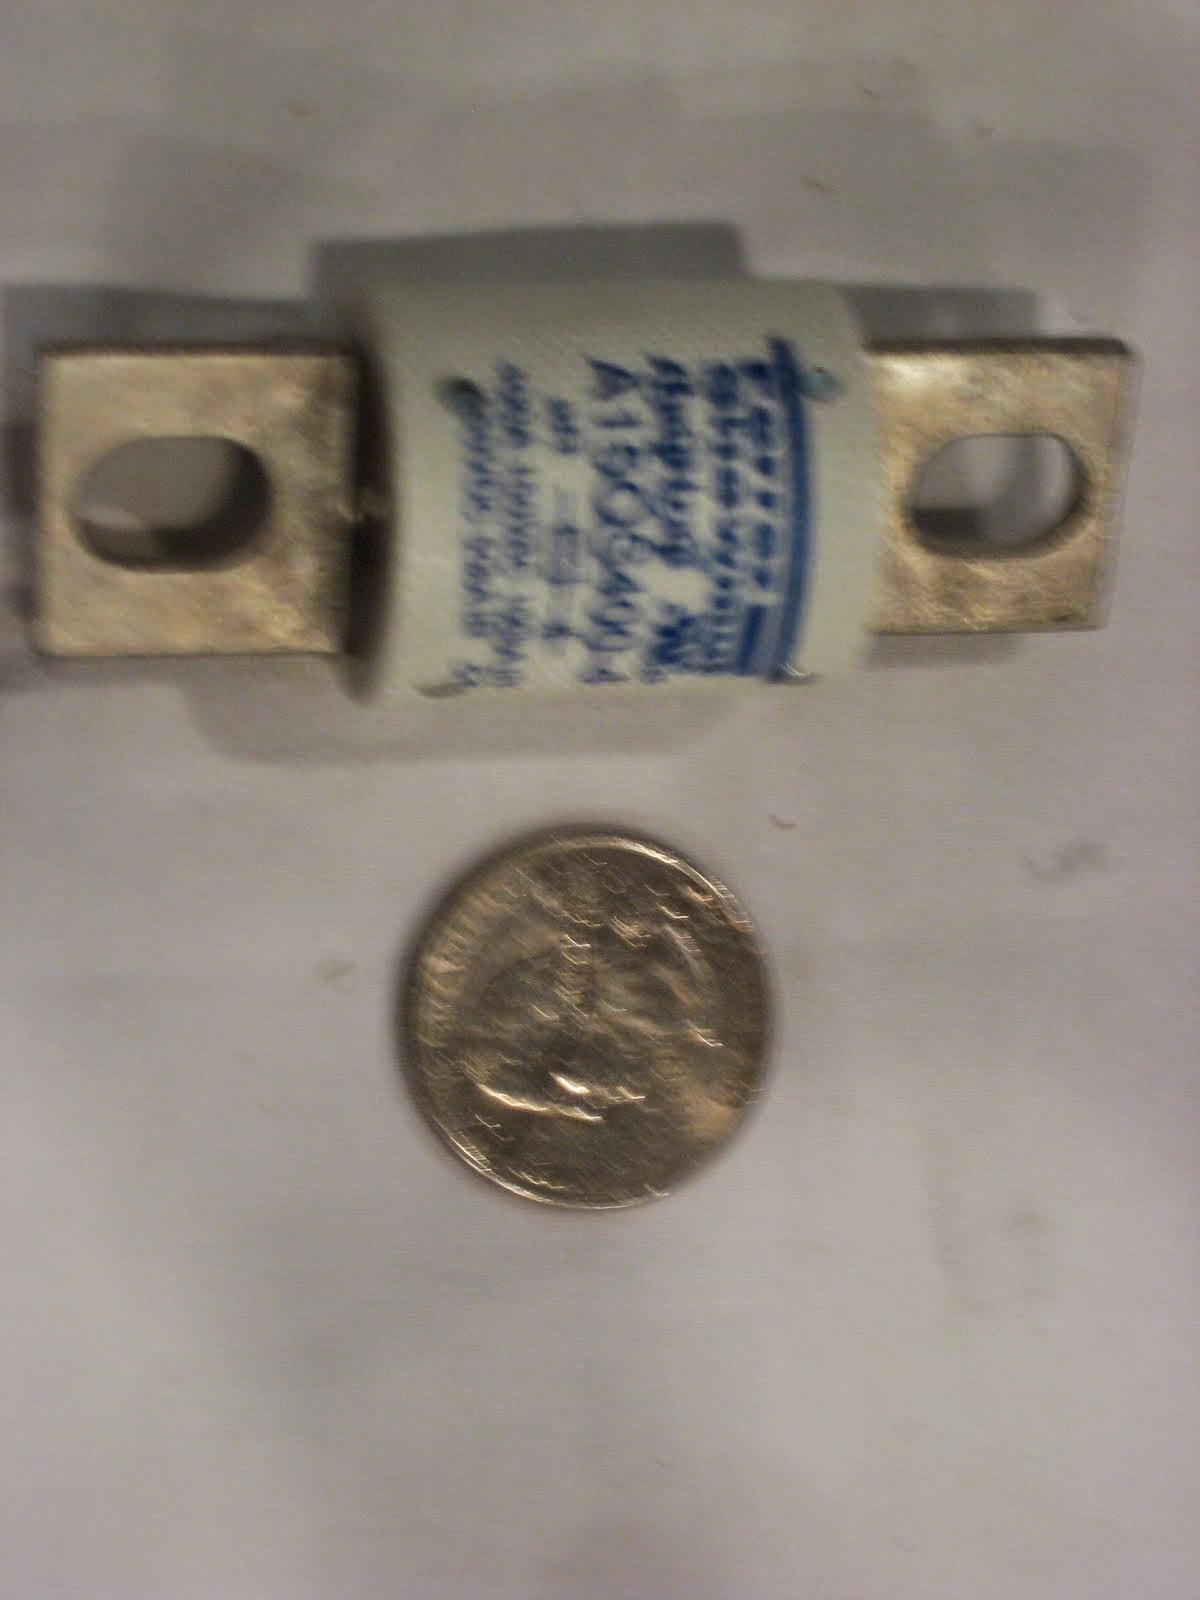
500A Fuse


This is another safety feature. It breaks and shuts off the car if too many amps pass through it

Shunt


This detects how many amps are coming through in the current and if wired to an ammeter, displays how many amps

12v Battery Charger


Since i no longer have an alternator to charge the car battery, i need to manually charge it. To do this i wire the black and red cables to the 12v battery and the plug in in to a regular outlet. Since i also have the 120v charger, ill probably plug them both into a surge protector and then plug the surge protector into the outlet.
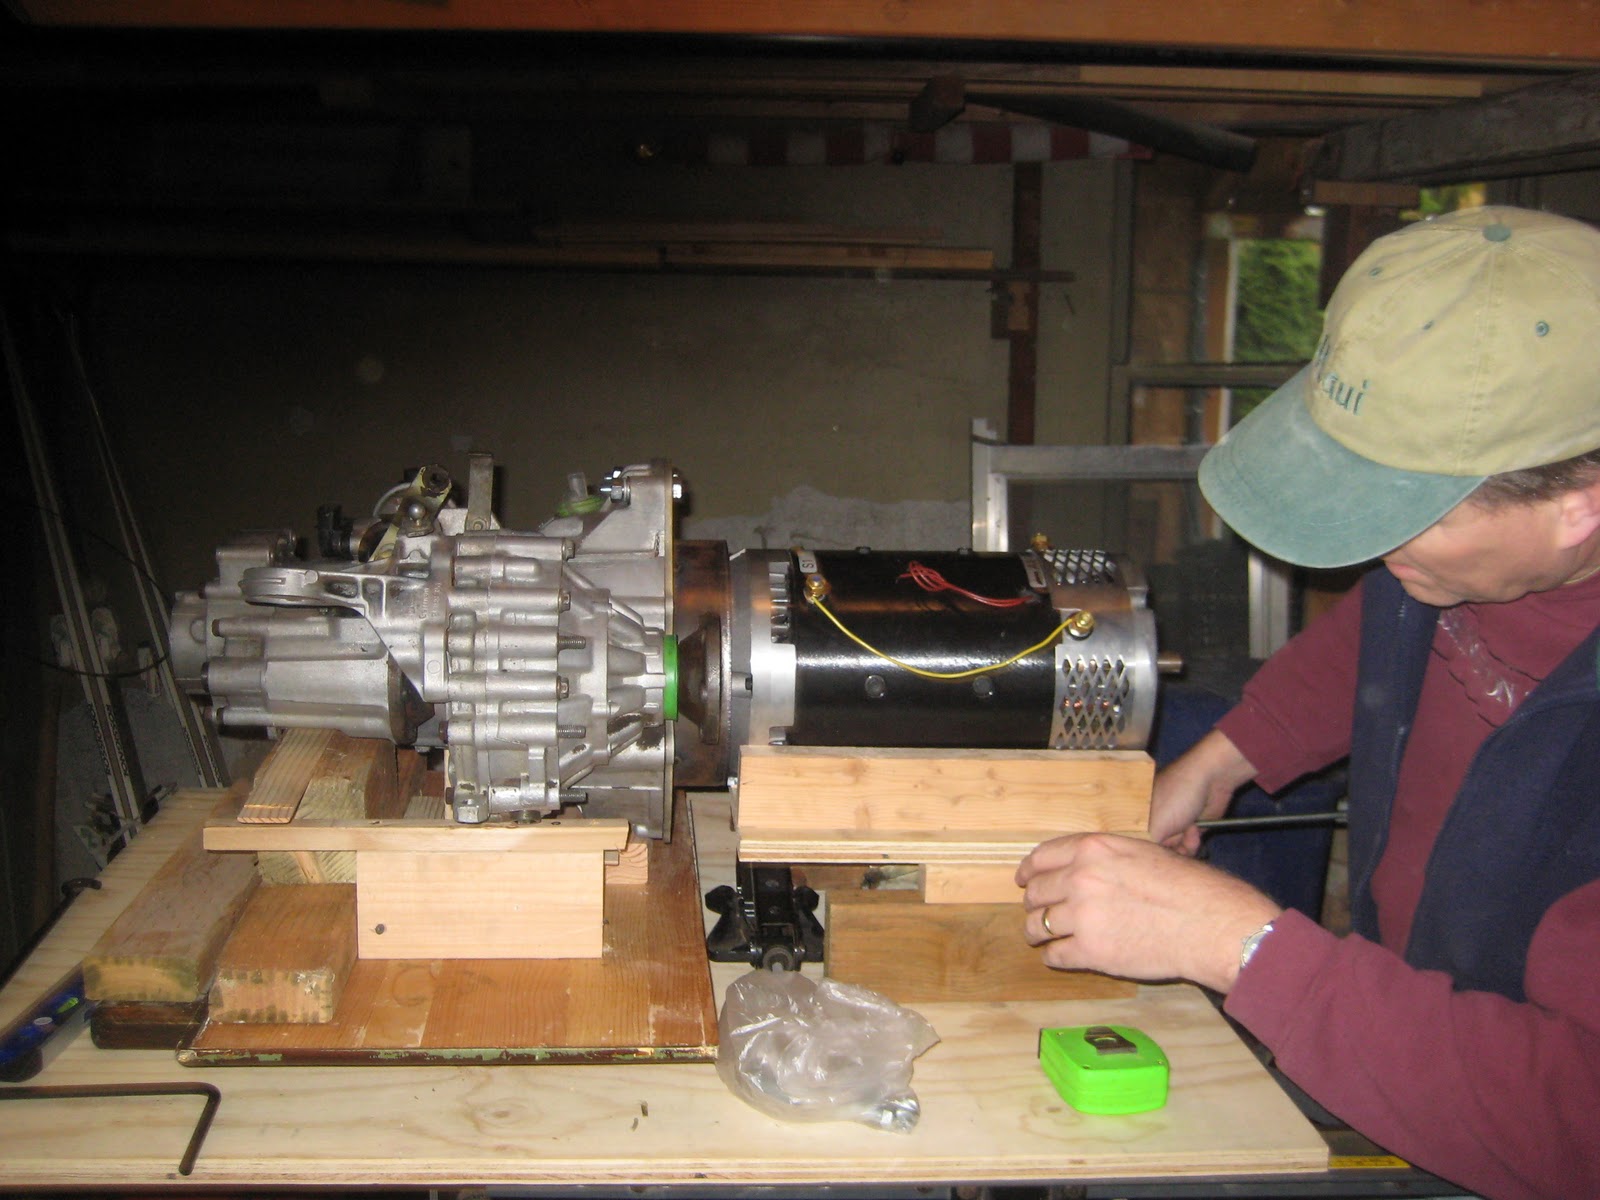

Controller


This is what i built, it is like the brain. It tells the motor how fast to spin and shuts it off if its too fast. There is plenty of info a few posts back on how i built this. It probably weighs around 20 lbs.